Your backyard deck undoubtedly takes a battering throughout the year due to high foot traffic, erratic weather, and neighborhood pests. Before summer truly starts, even the toughest decking products could use a little freshening up. If you are looking for the best services then go through https://houseintegrals.com/4-dos-and-donts-of-sealing-your-deck/.
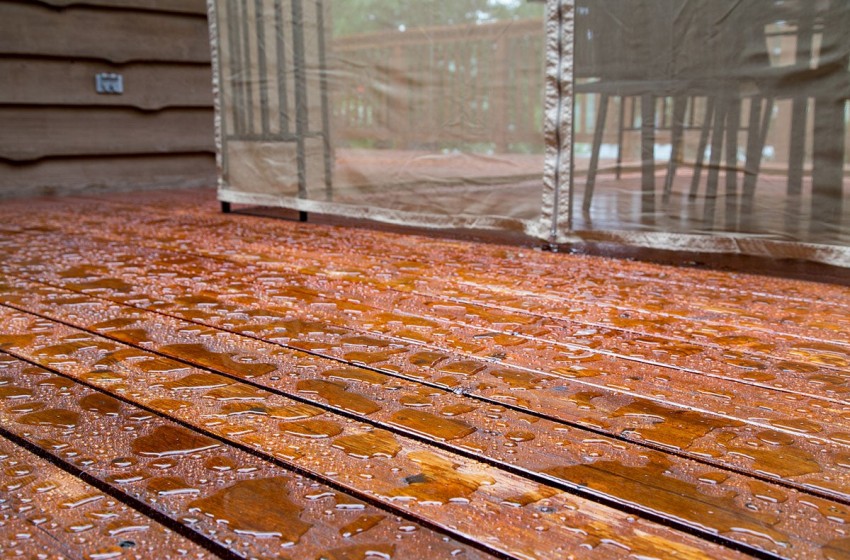
In order to maintain your backyard deck secure, practical, and fashionable for years to come, deck waterproofing is crucial. It’s crucial to learn how to seal a deck before cutting the wood if you’re installing it yourself. This is so that you can get the optimum results, which require sealing the wood within a day.
The exact same procedures will be followed if you only need to reseal your deck. For your deck to stay as stunning and useful as the day it was installed, follow the steps in this step-by-step tutorial.

The 6 Steps to Waterproofing a Deck
1. Deck debris needs to be removed
Decks need to be dry and clean before applying sealant. Clean up all the dirt, leaves, and pine needles at first by sweeping with a long-handled deck broom. To prevent it from blowing back onto your deck, collect the dust and debris and place it in a container.
Check the state of your deck frequently while you sweep. Note any dents, fissures, or other deterioration indicators, such as protruding nails. Before waterproofing your deck, you must fix these frequent problems.
2. Make repairs to wood
Return to the damaged areas you had earlier observed and start repairing any cracks, splitting, and projecting nails after dirt and debris have been removed. To prevent dinging or harming the board, you can hammer nails that have been forced upward back in place with a hammer and a drift pin. Replace any broken nails you notice if you can.
Watch out for rotten boards, which are a potential problem with composite or wood decking. Single boards are typically simple to replace and, given enough time, will ultimately blend in with the rest of your deck.
3. Make your backyard deck sparkle with a deep clean
After your initial cleaning, you might need to give your backyard deck a full cleaning if it still appears a little worn out. Although power washers are a good way to thoroughly clean your deck, soft woods like cedar or pine might be harmed by them.
Choose a lower water pressure level (600-750 psi) when power washing a soft wood deck to prevent etching or splintering. Step back from the deck with the power washer. If the stains don’t go, try your best to scrub away any lingering stains using a synthetic bristle brush and a specially prepared deck cleanser.
4. Decks need to dry before you use them
It’s crucial to leave your deck at least three days to fully dry before proceeding to the next step. By doing so, you can make sure the sealer is applied correctly and sticks to the wood.
To find out if it’s going to rain, check the forecast. If it rains, wait until the wood is completely dry before sealing your deck once more. Keep in mind that if your deck is shaded for the majority of the day, you might need to wait longer.
5. Make Your Sealant Choice
It can be difficult to choose the best sealer for your deck because it depends on the temperature and the type of decking material. The appearance of the finished result will vary depending on the color of the deck sealants and stains.
The finest sealants for classic wood decks are usually clear or lighter because they let the wood’s natural grain show, though this depends on personal opinion. Because they don’t absorb as much heat, lighter stains perform better in sunshine than darker ones.
The deck sealant’s instructions should always be read. Ask a decking specialist for a recommendation depending on the type of decking material you have if you’re still having difficulties selecting the correct sealant.
6. The Sealant Must Be Applied
It’s time to seal your backyard deck after checking the forecast to make sure there won’t be any rain. Start by covering the siding and any other vulnerable areas using painter’s tape.
Apply your waterproof deck sealer using a paintbrush or a lawn sprayer, being careful to clean up any drips as you go. The overspray from a garden sprayer can be disastrous despite its speed. The best effects can be achieved by moving slowly, board by board, which is made possible by using a brush.
Before adding a second coat, let the sealant completely dry. You ought to have a nicely sealed and safeguarded deck by the time the last coat is dry, ready to host the greatest backyard party.
Keeping your deck watertight will preserve its beauty
Decks can become vulnerable to damage and stains over time due to severe weather and high foot activity. Every year or as needed, use a waterproof sealer to preserve your outdoor deck in great shape.
Cleaning off any debris and grime will help maintain your deck in between sealings. A lot can be done to maintain your deck’s appearance by keeping it dry and clean throughout the year.


Leave a Reply